DIY Nail Art Designs and Nail Polish Tricks: How to Do a Gradient Glitter Tip in 3 Steps


Gradient Glitter Tip
This is one of the easiest nail polish tricks I've discovered, and makes creating a glitter tip as easy as anything. It's one of the DIY nail art designs I mentioned in my '5 easy nail designs for beginners' hub. I love using this technique, because it's really fool proof. You don't need a steady hand or precision application, and it literally takes a minutes minutes longer than a regular manicure. I used a teal colored nail polish, teal glitter polish and loose teal hexagon glitters for this design. A fan brush makes the glitter application easy, so one of those would really come in handy too.
Step 1
Apply the opaque nail polish to the nail first, and give it two or more coats to ensure you get good coverage. If you want to, you could use a clear or nude nail polish for this as well. This will form the base for the design.

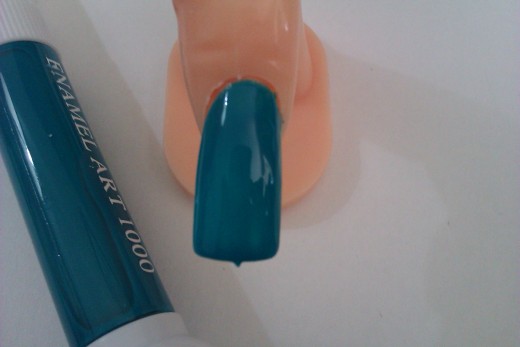
Step 2
Next, apply the glitter polish. I used a glitter nail art pen from a set I purchased on ebay, so the striper brush came in handy. Try to not create a definite 'line' but to vary the length of the strokes. This will help create the 'gradient' effect we're going for with this design.
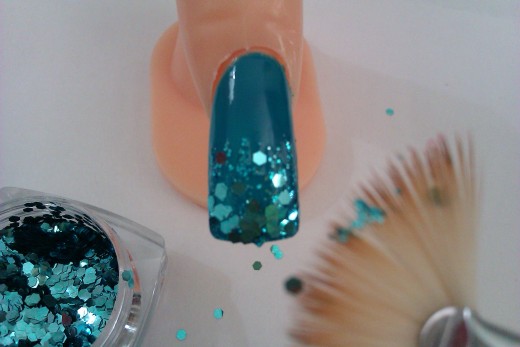
Step 3
Apply the loose hexagon glitters while the nail polish is still wet. This will save you having to apply an extra coat of clear polish. Use the fan brush to pick up glitter and place it on the nail tip. Place most of the glitter near the tip of the nail and only a few towards the center of the nail. If you have two sizes of glitter this makes it even easier. You could use the larger glitters on the tip itself, and spread out the smaller glitters towards the inside of the nail to really get a stunning gradient effect. TIP: Always pat down the glitter using your fingertip. This will ensure that all the glitters are lying flat against the nail.
That's it! All you need to do now is to seal the glitter and the design using a top coat of your choice. I recommend Sally Hansen Diamond Strength. I've had great results with it, and it seems to keep my DIY nail art designs looking better for longer too. If needed, apply a second coat to keep the glitter from giving the nail a rough feel.