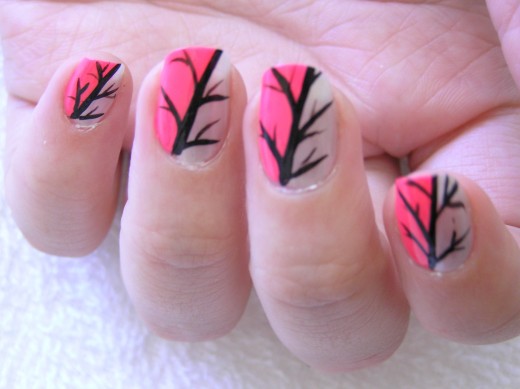
DIY Nail Art Designs: How to Make Cheap Nail Polish Last Longer

We all love a great deal, and buying cheap nail polish can be hard to resist. You may already know that the $1 bottle of polish will probably chip within 24 hours, but it still seems like such a great deal, right? Well, you’ll be pleased to know that there are ways to make a ‘cheapie’ last as long as the real thing, and to extend the life of your DIY nail art designs when using cheap polish.

Proper Preparation and Application
An important part of nail preparation when doing your own nail art designs, or even just when doing a home manicure, is to prepare the nail bed properly. Using a cuticle remover and a pusher tool or orange stick will help get rid of skin on the nail itself.
A lot of nail polish users skip this step, because they may not understand the importance of a base and top coat. When I first started using nail polish, applying a clear coat underneath and on top just seemed wasteful, so I never did. The end result was yellowing fingernails and chipping, lifting, or peeling polish. A good base and top coat is a must if you want to make a cheap nail polish last better. But, and here is the really important part, rather spend a little extra to get a decent top and base coat. The investment will be worth it many times over.

Gelly Sandwich, Anyone?
That’s not a typo, just in case you’re wondering! The term "gelly sandwich" refers to layering the nail polish, and using a gel base and gel top coat to ‘seal’ the cheaper polish between layers of cured gel. I’ve not tried this myself, but I fully intend to once I have a little extra to spend on a UV lamp.
The basics remain the same, so you need to push back the cuticles and use cuticle remover to get rid of any excess skin. Once that’s done you should remove all shine from the nail and use a gel primer (a vinegar and water solution works too) to remove any excess oil from the nail. Some nail art fanatics even use ordinary nail varnish remover or acetone for this, because it does the same thing.
The next step is to apply a thin layer of gel onto the nail, and to work it ‘into’ the nail by scrubbing lightly with the brush. Once it’s been cured, wipe away the excess using the remover solution or isopropyl alcohol, and then apply the nail polish. Seal the polish with another layer of gel polish, but remember to allow the polish to dry 100% before you apply the gel. If you don’t, the gel will apparently not cure properly.
Some who have tried this says that using the sandwich technique can help them get up to two weeks wear from their regular nail polish, so this may be well worth trying.
Is it Worth the Effort?
I can speak from experience when it comes to using a high-quality base and top coat, and it’s definitely worth it. The extra layers help the polish adhere to the nail and the top coat also seals it in to an extent. I’ve had chipping in less than 24 hours with some cheap nail polishes, but when I use a good base and top coat, I can extend that to two or three days using the same nail polish. It's a quick and easy way to make DIY nail art designs last that little longer, without any real expense or effort.
The gelly-sandwich technique is something I believe can work. I’ve not been able to try it yet, but I am planning on it. I’ll be sure to write another Hub on it once I get round to doing it and will try to include pictures of how it wears over time. If anyone has tried it, please comment and share your experiences. I’d love to hear about it!